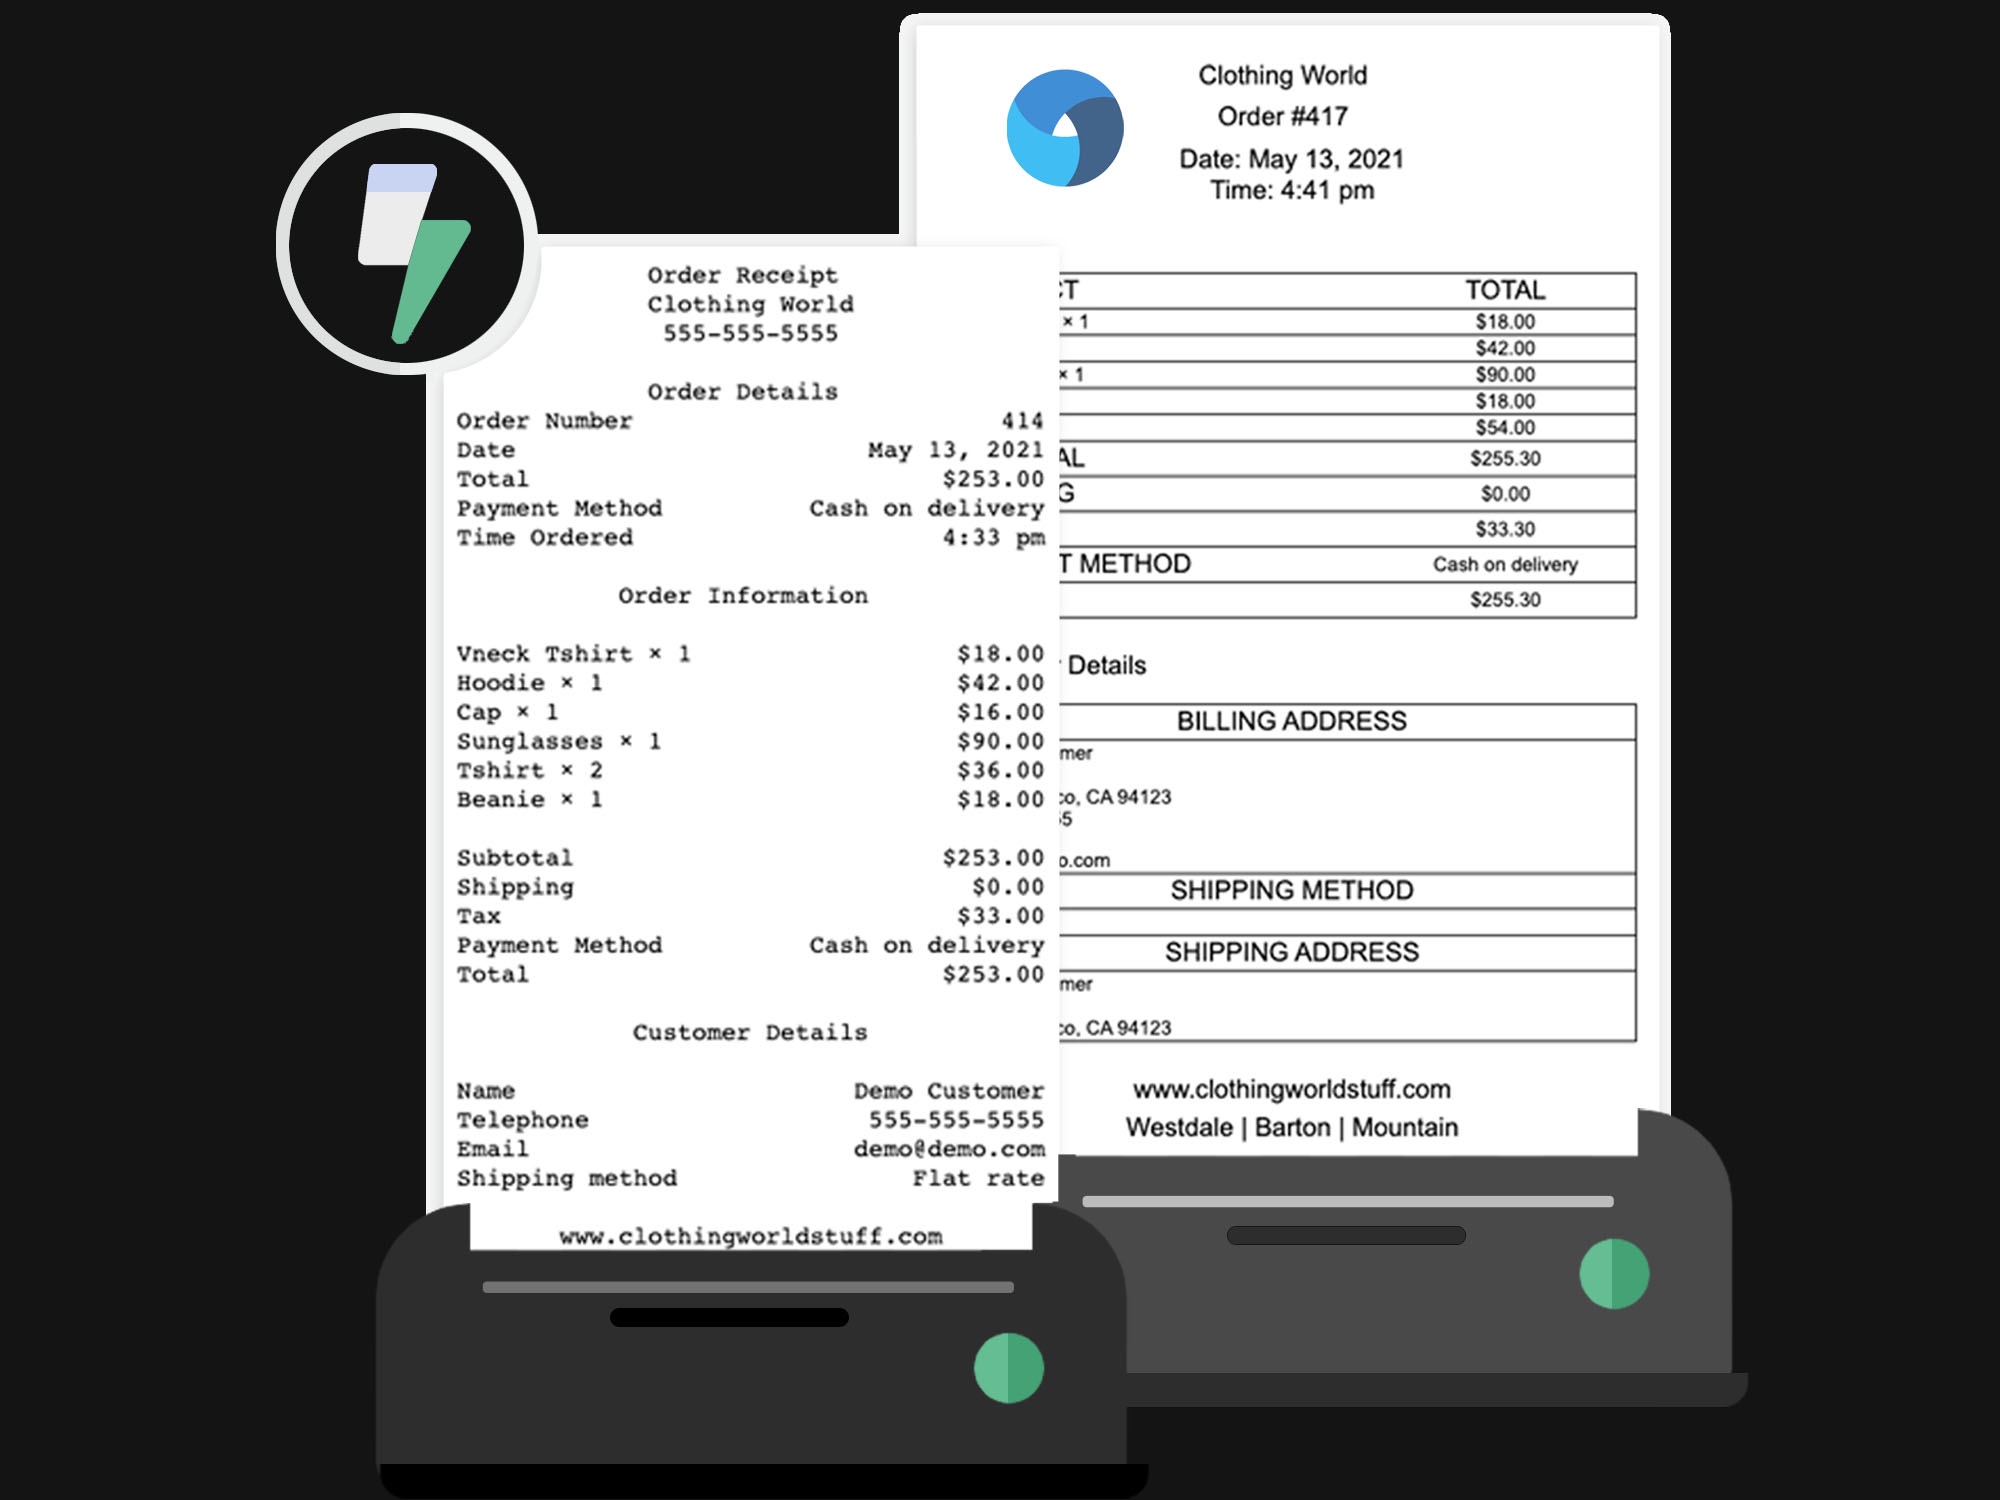
Print WooCommerce Order Receipts, Invoices & Labels
Automatically or on-demand from any printer in your restaurant, retail store or fulfillment station.


Automatically or on-demand from any printer in your restaurant, retail store or fulfillment station.


Don’t worry, we make it simple to set up – even for non-technical people! Create a BizSwoop account, configure the plugin, it’s easy to use.
Automatically print WooCommerce orders in a receipt format based on order status. Print WooCommerce orders on demand. Rest assured that orders will instantly be printed in the kitchen, at checkout or wherever you need!
A scalable cloud solution that can print to multiple printers and locations at once makes it easy to run and grow your business. We support any printer model! Works with Mac, PC, Linux or Raspberry Pi.

based on 26,750+ hours and counting
As a busy owner of a restaurant or retail business, reliability is your number one priority – and it’s ours, too.


“BizPrint lets me automatically
print customized receipts from WooCommerce, at my point of sale.
If you need to use WooCommerce in-person, want to save money by emailing your receipts, or just need great looking receipts (I receive compliments about our receipts), I’d highly recommend BizPrint. The team and software are excellent, and easy to work with.”
In-Person Retail & Online Store


Order receipts instantly print when customers place an order online or at a point-of-sale while the shopper is waiting.

All printers that can connect to a Mac, PC or Linux and have a supported driver will work. Easy to adjust margins and formatting.

Set up an unlimited number of printers and print to multiple locations. iOS & Android devices can also send print jobs.

Easily customize invoice and order print templates to include your company logo or other company information.

With the ability to generate a PDF of the receipt, BizPrint offers an easier and less fragmented solution for your WooCommerce printing needs.

Native WooCommerce compatibility for your WooCommerce print order needs. No need for third-party solutions to generate orders/invoices!
 (4.8 out of 5 stars).
“With BizPrint, we can optimize the printing of online orders and cooking times for deliveries.
It’s essential we can get orders into the kitchen and out to customers quickly. Snack Fit Me is an independent healthy food chain with three locations. We offer online ordering through our WooCommerce website for our delicious pastries, customizable bowls, and box bundles all made with natural ingredients. I’d highly recommend it to other restaurant owners.
In-Person, Pickup & Delivery Restaurant
The BizPrint plugin is simple to use, but if you need help with anything, we’re here for you.
Our support team is dedicated to resolving your issues and we’ll always go the extra mile to help.
But first, consider the following solutions:
If you can’t find the answers you are looking for, submit a help request here:
Submit Help Request“BizPrint lets me outperform my competitors – whilst saving money.

We started taking orders online and printing them with BizPrint, and it has been game changing. BizPrint improves the customer experience, reduces kitchen downtime, and frees up my time. My staff are 30% more productive. I can outperform our competitors (including on UberEat, Deliveroo, etc) whilst having lower costs, better quality, and lower prices. If you own a restaurant, getting BizPrint is a no-brainer.”